Do you and your little one(s) like taking photographs but then aren’t sure what to do with them? Then you’re in luck, because today I’m sharing two ideas for DIY photo craft activities that you can make together. Whether they play with these on a rainy day at home, or you slip them into the diaper bag and take them with you to restaurants or on car trips, your child with have loads of fun with these two activities. And did I mention that they’re easy and cheap to make, recyclable, and lightweight and don’t take up much room? Bonus!
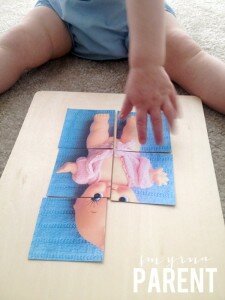
Both activities are appropriate for any age over one year, and can be customized based on the child’s skill level.
Photo Puzzles
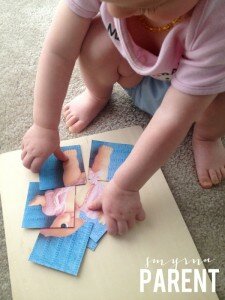
Start by taking a photograph (on any type of camera or camera phone). You may want to take a photo of a simple object or favorite toy for a younger child, or a landscape scene or busy pattern for a more advanced child. [Advanced tip: If your child can take the photo themself, let them!]
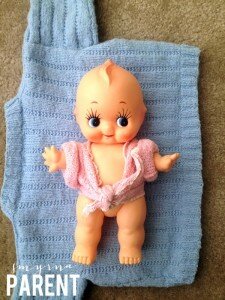
Next, print your photo out onto paper. You can use regular printer paper, or any specialty thicker stock paper of your choice. I prefer to use regular, cheap printer paper and then use a glue stick to glue the paper onto a piece of thin cardboard, like from a cereal or frozen pizza box. This will help the photo to hold up a bit more under a child’s wear and tear. Allow the child to assist with gluing the photo to the cardboard.
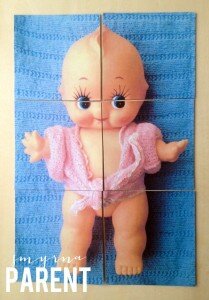
Now you’re ready to cut. You can measure it out so that all of the pieces are the same size and shape if you like, or you can cut the pieces into random shapes and sizes. If you’re really skilled, you can also try to cut actual puzzle shapes. The way you make it is totally up to you.
Lacing Cards
Do you remember ‘learn-to-sew lacing cards’ from when you were little? These are great activities because not only is it entertaining, but it also helps with your child’s coordination/ fine motor development, is a beginning step in learning how to sew, and also encourages creativity.
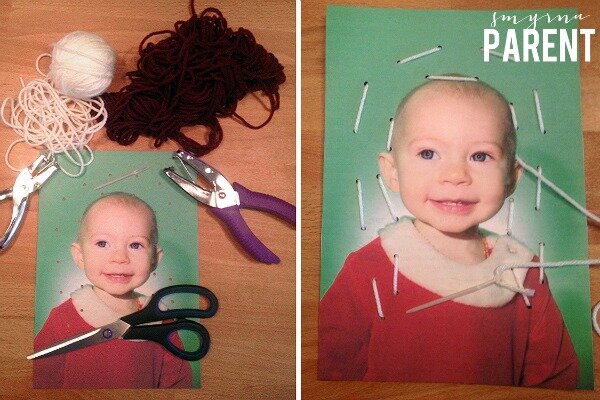
The materials you’ll need are: your chosen image printed out, thin cardboard (from a cereal box), glue stick, scissors, a hole puncher, and either yarn and a large plastic needle, or a shoelace (which is better for younger children).
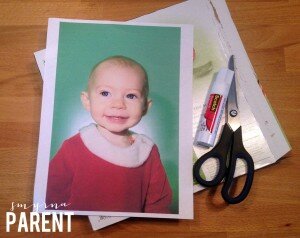
First, you will want to glue the paper photo onto a piece of cardboard and trim the edges. Then, it’s time to punch some holes. For younger children, I suggest using a regular hole punch and punching a basic design like the outline of your image. For more advanced or older children, you can purchase a craft hole punch from most craft supply stores that make a smaller hole (I like the 1/8″ size). The punched designs for older children can be more complicated and creative (see our hairdo example).
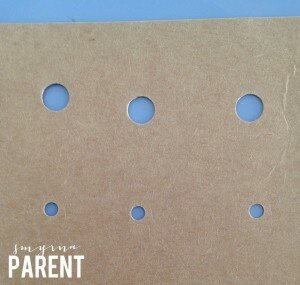
Holes can be placed anywhere in the image you like- there’s no rules of spacing or number of holes needed. It is best however, to punch along straight lines, and at corners or the edges of curves. You also don’t want to leave too big of a space in between holes so that your yarn covers part of your image. Think about putting your holes in areas that you want to outline or accentuate.
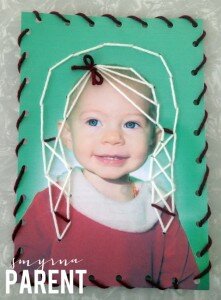
Once the hole punching is done, then it’s time to teach your little one how to “sew”. These cards can be reused over and over again, given as gifts or made into cards, or displayed as art pieces on your wall.
Start sewing at one end, tying a large knot on the starting end of the yarn or shoelace, or leave about an inch of the yarn hanging on the back (don’t pull it all the way through but wait to knot it with the finished end). Once you’ve gone through all the holes, you can either be done, or go back through the completed holes to create unbroken lines and more intricate designs.
For more DIY photo activities for kids, visit my blog HERE.
Latest posts by Alicia (see all)
- Raising Money-Smart Kids in a Digital World: A Parent’s Guide to Bitcoin, Budgets, and Better Habits - October 5, 2025
- How Supporting Your Family Through Sports Builds Stronger Bonds - September 17, 2025
- Raising Resilient Kids in a Modern World: Lessons from Life and Lifestyle - September 9, 2025
