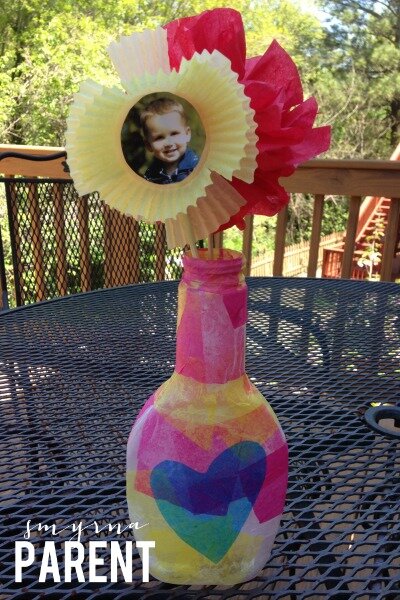
I remember beaming with pride when I made a vase for my mom one year in elementary school. It is very easy to do with things you probably already have around the house!
Mother’s Day vase supply list:
- 1 clean, empty plastic bottle with the label taken off (we used a salad dressing bottle)
- White school glue
- Tissue paper in various colors
- Bowl
- Paint brush
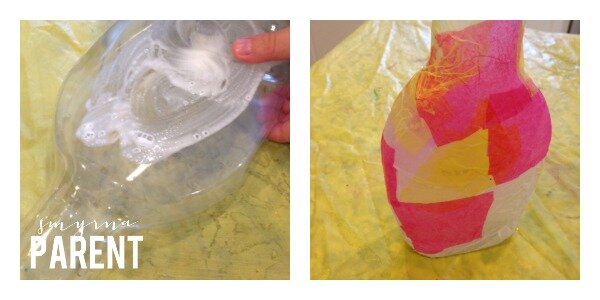
1. Mix equal parts glue and water in a bowl. You are aiming for a thin, runny glue mixture. Add a little more water if needed.
2. Apply the glue mixture to the outside of the bottle and then cover with tissue paper. (To speed things up, I cut the tissue into large squares ahead of time.) This is where it gets messy, so you may want to protect your tabletop. Keep working your way around the bottle until it is completely covered. Overlapping and wrinkles are good!
3. Cut a tissue paper heart and attach it to the front of the bottle.
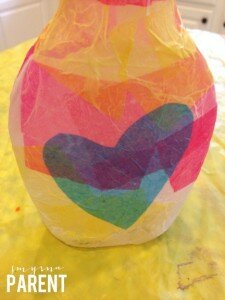
4. Set your vase aside on a piece of wax paper and let dry for at least an hour.
When it is dry, it is ready for flowers! Artificial flowers, real flowers, or homemade flowers are all good options. If you want to try making homemade flowers, continue with the steps below! (Note: this is probably not a craft you can do with a small child.)
Homemade flowers supply list:
- 2 cupcake liners
- 2 chopsticks or wooden grilling skewers
- Tissue paper
- Photo of your child
- Scissors
- Twist tie or string
- Clear tape
- Glue stick
Cupcake Flower:
1. To make the cupcake liner flower, first trace the bottom of the cupcake liner onto your child’s photo. When you cut the photo out, it should fit inside your cupcake liner. Set photo aside for now.
2. Stick two cupcake liners together by gluing the back of one cupcake liner to the inside of the other. Only apply glue to the flat circular part of the liner.
3. Glue your photo to the inside of the cupcake liner. Use scissors to cut several “petals” in the liners surrounding the photo.
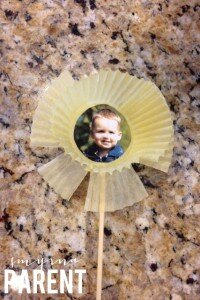
4. Use tape to attach the flower to a chopstick or skewer. (If you wanted something more permanent, you could sandwich the chopstick or skewer with glue between the flower and a piece of cardstock or felt).
Tissue Paper Flower:
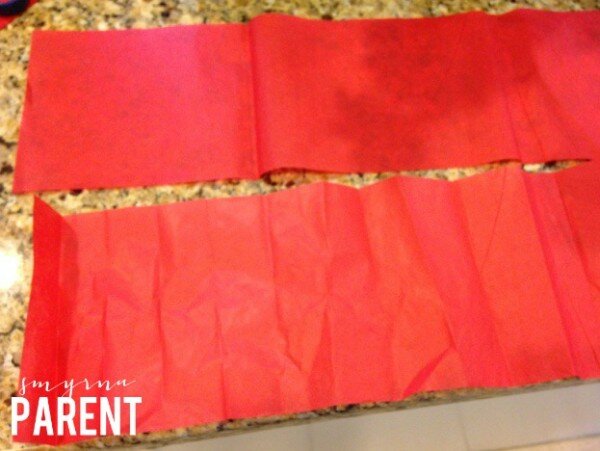
1. To make the tissue paper flower, cut two pieces of tissue paper measuring roughly 4″x 20″ (essentially the entire width of the sheet you are using).
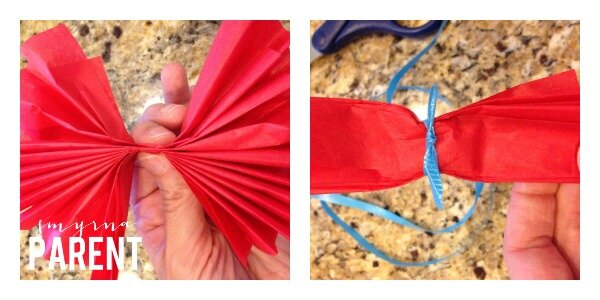
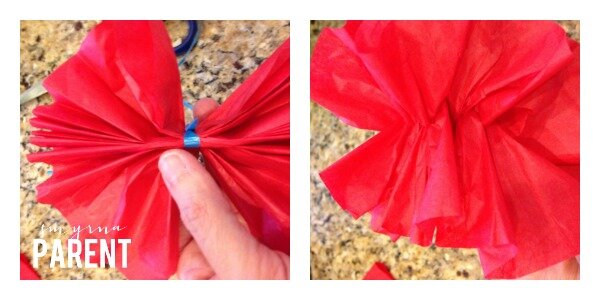
2. Place the two strips of tissue paper on top of one another and accordion fold them from one end to the other.
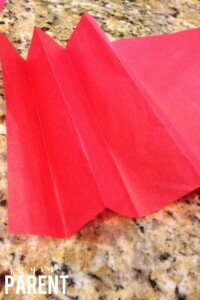
3. Use a twist tie or small piece of string and tightly tie a knot in the center of the folded paper.
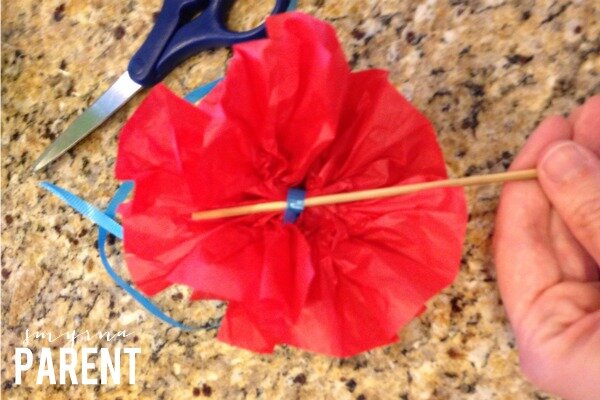
4. Begin separating the two pieces of tissue from one another, working your way around the whole “flower.” Twist and turn it in places where you’d like it more full. It won’t be perfect but therein lies the charm!
5. Slip a chopstick or skewer into the center knot. It should stay in place fairly easily if the knot is tight. If not, use tape or glue to secure it to the chopstick or skewer.
There you have it! Happy Mother’s Day!
Latest posts by Alicia (see all)
- Raising Money-Smart Kids in a Digital World: A Parent’s Guide to Bitcoin, Budgets, and Better Habits - October 5, 2025
- How Supporting Your Family Through Sports Builds Stronger Bonds - September 17, 2025
- Raising Resilient Kids in a Modern World: Lessons from Life and Lifestyle - September 9, 2025
